Patient Portal
The Patient Portal is a simple and secure method to exchange Personal Health Information with you before and after each visit. For non-urgent issues, it is the preferred way to communicate with us regarding your healthcare needs.
After making the first appointment, we send an email invitation with a link to register for the portal for the first time. If you're already registered, go to rockderm.ema.md to sign in.
Inside the Portal
We want your information to be accurate and up-to-date so before each appointment with us, go to the "My Health" section in the Portal to review and update your personal health information.

Start at "Contact Info" and review, add, or update the information we currently have for you.
After you enter your information, click "Save and Continue" to save your information in that section and move forward to the next portal section. You can go directly to each section by clicking on the section tab.

Once you have reviewed and updated the information in each section, please review and click "Acknowledge" for any forms that may be available. You're done when all available forms are acknowledged, and your information is entered and saved.
Review and Update Information
Once logged in, the following list of tabs are visible on the left side of the page:
Contact Information and Insurance
The Contact Information and Insurance tabs are for you to review and verify the information. You may contact Rockwall Dermatology directly to make any changes.
Medications
The Medications tab allows you to enter all of your current medications. (Most over- the-counter medications should populate as well)
- Click on the blank field next to drug name and start typing. Medications will auto-populate for you. Click on the correct medication and a box will appear to the right. If you know the dose of that medication, select the appropriate dose by clicking on the medication name/dose in blue. If you do not know the dose, select the text "add with unspecified dispensable." You will then see your medication listed below. You can add as many medications as you like.
- If you cannot find the correct medication, you can always click in the box next to "other" and type in your medication.
- If you are not currently taking any medications, click on the "mark no medications" tab at the top of the page.
- If you have selected a medication in error, simply click on the blue delete button to the right of the medication you want to delete.
- You may add additional information into the blank fields next to each medication (frequency, date started), but you do not have to.
- Once you are finished, scroll to the bottom of the screen and select "Save and Continue".
Allergies
The Allergies tab allows you to enter any known drug allergies.
- Click on the blank field next to allergy and start typing. Allergens will auto-populate and simply click on the appropriate one. You will then see your allergy listed below.
- As always, there is an "other" box for you to type in any allergy that you cannot find.
- If you have no known drug allergies, click on the "mark no known allergies" tab at the top of the page.
- You may select the type of reaction you experienced with that allergy, but you do not have to.
- As with medications, if you select an allergy in error, click on the blue delete button to the right of the allergy you wish to delete.
- Once you are finished, scroll to the bottom of the screen and select "Save and Continue".
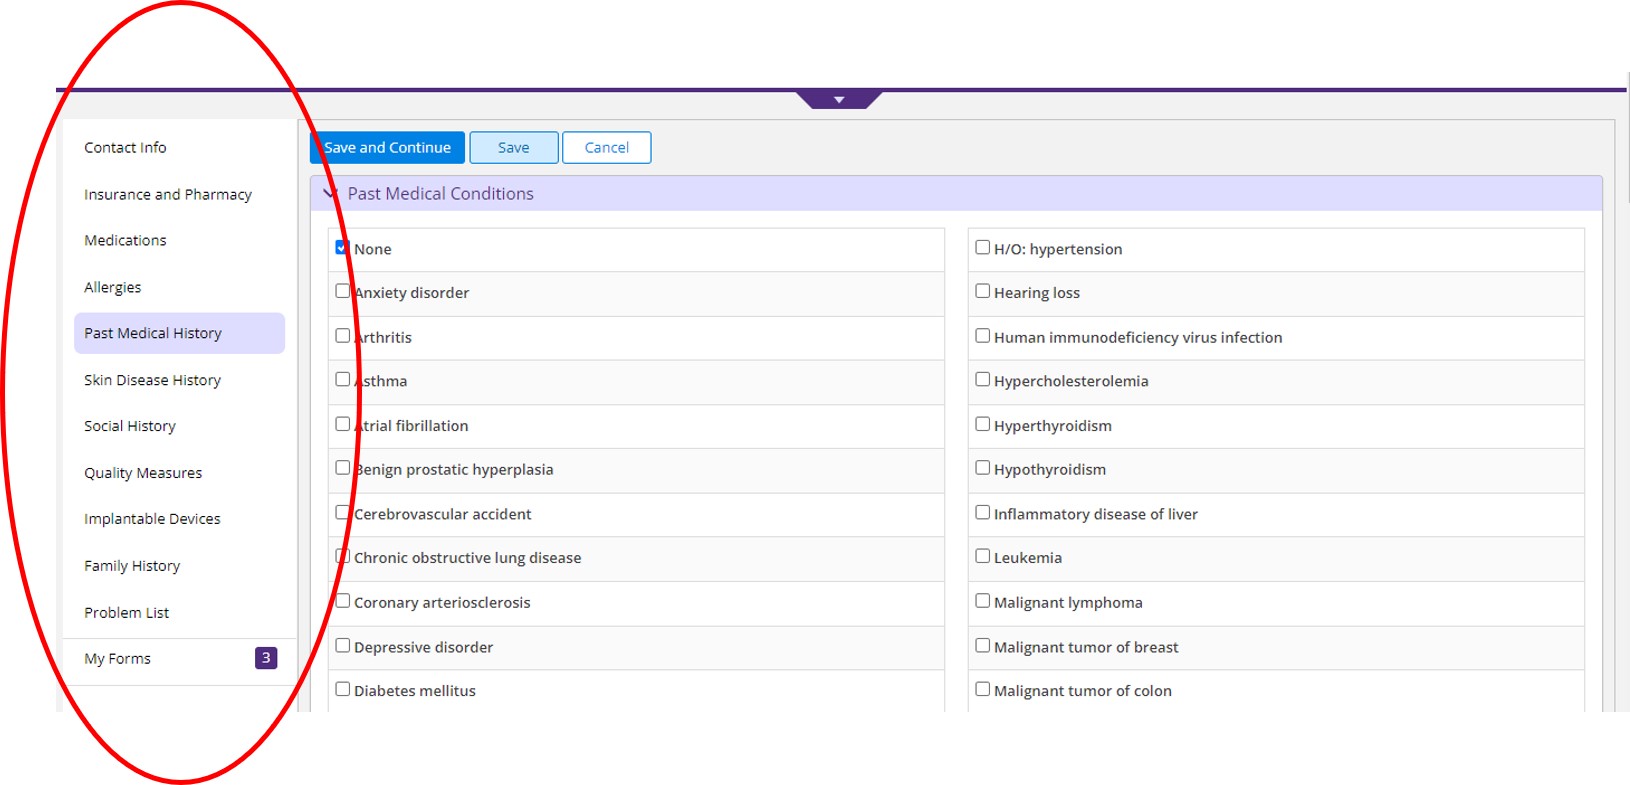
Past Medical History
The Past Medical History tab allows you to enter your medical history and surgical history.
- Click on the box next to the medical condition that applies to you and a check mark will appear. You can select as many as you like. If you do not see your condition listed, click in the box next to "other" and type the condition in the box.
- If you have selected something by mistake, click on the box again and the check mark will disappear.
- Scroll down to enter your surgery history the same way.
- If you have no medical conditions and/or previous surgeries, please click the box next to none.
- Once you are finished, scroll to bottom of the screen and select "Save and Continue".
Skin Disease History
The Skin Disease History tab allows you to enter any previous skin problems.
- Click on the box next to the condition that applies to you. If you do not see your condition listed, click in the "other" box and type in your condition.
- If you have no previous skin problems, please select none.
- Scroll down to answer more questions regarding your skin cancer history.
- Once you are finished, scroll to the bottom of the screen and select "Save and Continue".
Problem List
The Problem List tab allows you to view any condition your doctor has diagnosed you as having and the date you were given that diagnosis. You are not able to change any information in this tab.